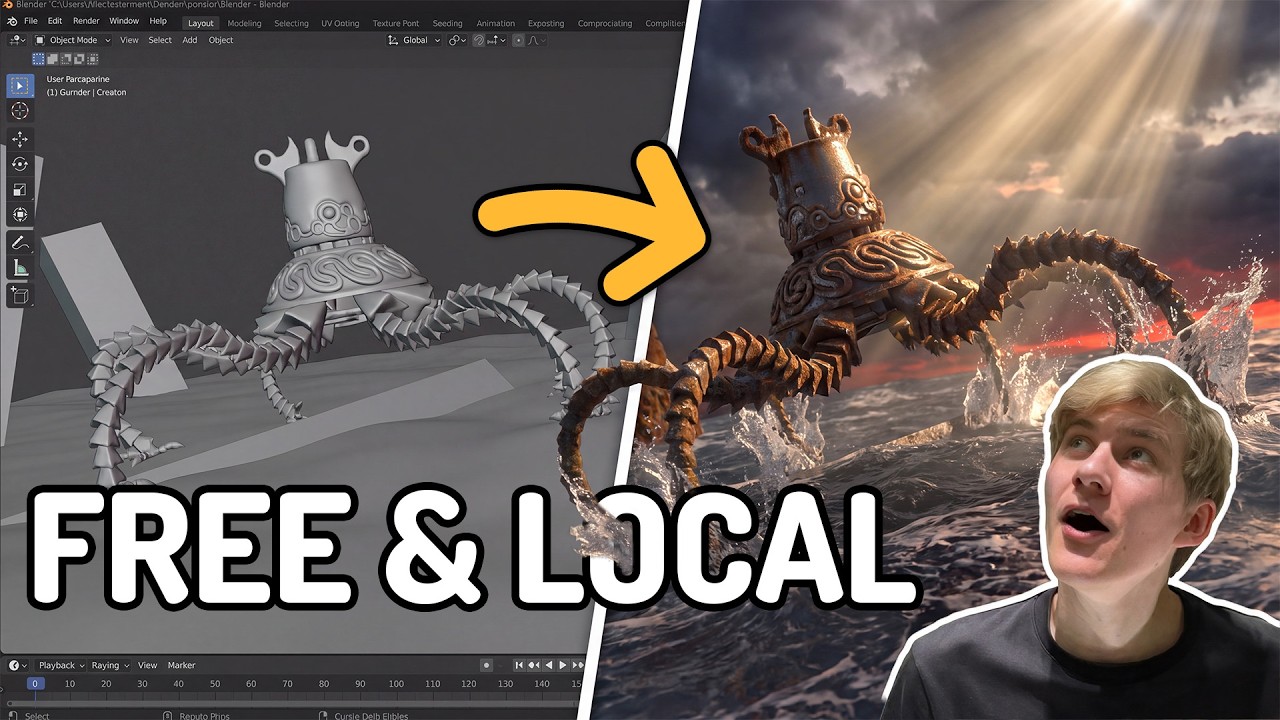
This new AI Render Engine is amazing!
Render your 3D scenes with AI, for free, on your own computer! All you need is a playblast straight out of your viewport and this new ComfyUI workflow turns it into a finished rendering, with sound using MINIMAX H3.
If you like my work, please consider supporting me on Patreon:
https://www.patreon.com/Mickmumpitz
Follow me on Twitter: https://twitter.com/mickmumpitz
You can find the FREE WORKFLOWS here: https://www.patreon.com/Mickmumpitz/posts/166463119
ADVANCED WORKFLOWS & EXAMPLE FILES: https://www.patreon.com/Mickmumpitz/posts/166464561
INSTALLATION GUIDE ComfyUI: https://mickmumpitz.ai/posts/comfyui-getting-153738117?l=de-DE
Run the workflow on RUNPOD*: [COMING SOON]
A lot of the videos you see online where people turn their 3D layouts into finished animated shots are made with expensive cloud models like Seedance. But you can now get similar results locally with the new open source MiniMax H3 model, and I'll show you exactly how to set it up.
No ControlNets, no LoRA training, no depth or edge extraction. You load your playblast, add reference images for your characters and your look, describe your shot and render. Any style works, so photoreal, anime, painted, claymation, you name it. And the model generates the sound of your shot at the same time, including your own dialogue.
I ran this through dozens of handcrafted scenes to find the settings that actually matter, and this tutorial covers all of them.
WHAT YOU'LL LEARN:
- The full setup in ComfyUI, which model files you need and where they go
- Why you should only ever load one reference video
- How to keep characters and environments consistent with reference images
- My prompt structure for camera, timeline, characters and audio
- How to get the model to speak your own dialogue
- Which shots this is great for, and which ones to plan differently
TOOLS:
MiniMax H3 https://huggingface.co/MiniMaxAI/MiniMax-H3
ComfyUI model files https://huggingface.co/Comfy-Org/MiniMax-H3
ComfyUI https://www.comfy.org/
Blender https://www.blender.org/
RunPod https://runpod.io *
CHAPTERS
00:00 Intro
01:00 The Model
01:55 Installation
02:46 Using the Workflow
07:26 References
08:35 Advanced Workflows
09:06 Example Scenes
13:10 Conclusion
If you like my work, please consider supporting me on Patreon:
https://www.patreon.com/Mickmumpitz
Follow me on Twitter: https://twitter.com/mickmumpitz
You can find the FREE WORKFLOWS here: https://www.patreon.com/Mickmumpitz/posts/166463119
ADVANCED WORKFLOWS & EXAMPLE FILES: https://www.patreon.com/Mickmumpitz/posts/166464561
INSTALLATION GUIDE ComfyUI: https://mickmumpitz.ai/posts/comfyui-getting-153738117?l=de-DE
Run the workflow on RUNPOD*: [COMING SOON]
A lot of the videos you see online where people turn their 3D layouts into finished animated shots are made with expensive cloud models like Seedance. But you can now get similar results locally with the new open source MiniMax H3 model, and I'll show you exactly how to set it up.
No ControlNets, no LoRA training, no depth or edge extraction. You load your playblast, add reference images for your characters and your look, describe your shot and render. Any style works, so photoreal, anime, painted, claymation, you name it. And the model generates the sound of your shot at the same time, including your own dialogue.
I ran this through dozens of handcrafted scenes to find the settings that actually matter, and this tutorial covers all of them.
WHAT YOU'LL LEARN:
- The full setup in ComfyUI, which model files you need and where they go
- Why you should only ever load one reference video
- How to keep characters and environments consistent with reference images
- My prompt structure for camera, timeline, characters and audio
- How to get the model to speak your own dialogue
- Which shots this is great for, and which ones to plan differently
TOOLS:
MiniMax H3 https://huggingface.co/MiniMaxAI/MiniMax-H3
ComfyUI model files https://huggingface.co/Comfy-Org/MiniMax-H3
ComfyUI https://www.comfy.org/
Blender https://www.blender.org/
RunPod https://runpod.io *
CHAPTERS
00:00 Intro
01:00 The Model
01:55 Installation
02:46 Using the Workflow
07:26 References
08:35 Advanced Workflows
09:06 Example Scenes
13:10 Conclusion

Mickmumpitz
MickMumpitz is a channel that is all about understanding new technologies from the worlds of digital art, film and games in a playful and project-oriented way....